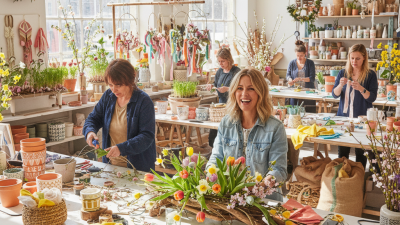
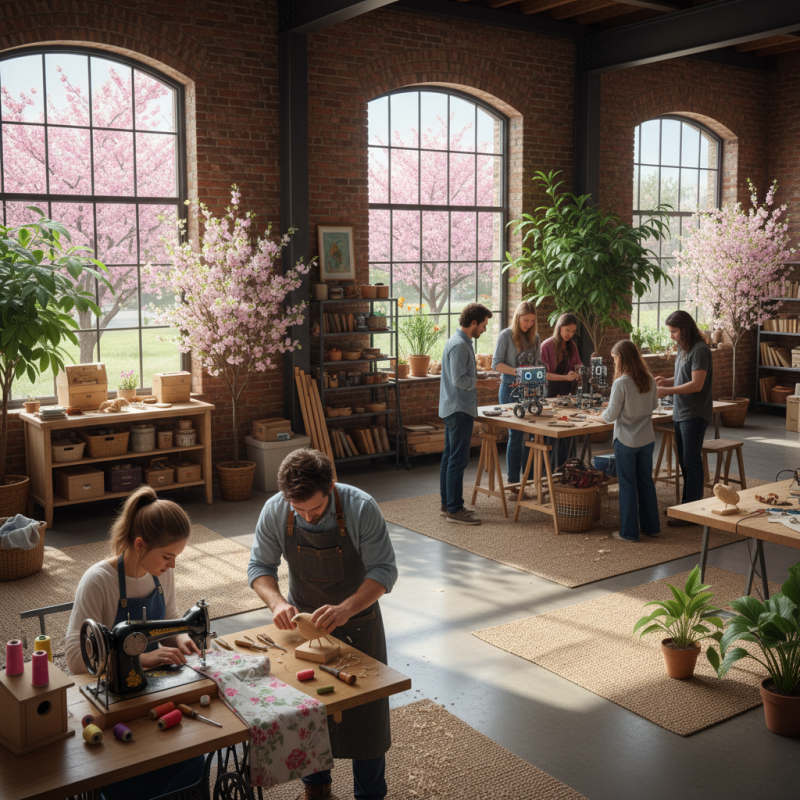
Spring Makers is a growing community of creative individuals. Many want to start projects but feel unsure. How do you turn ideas into reality?
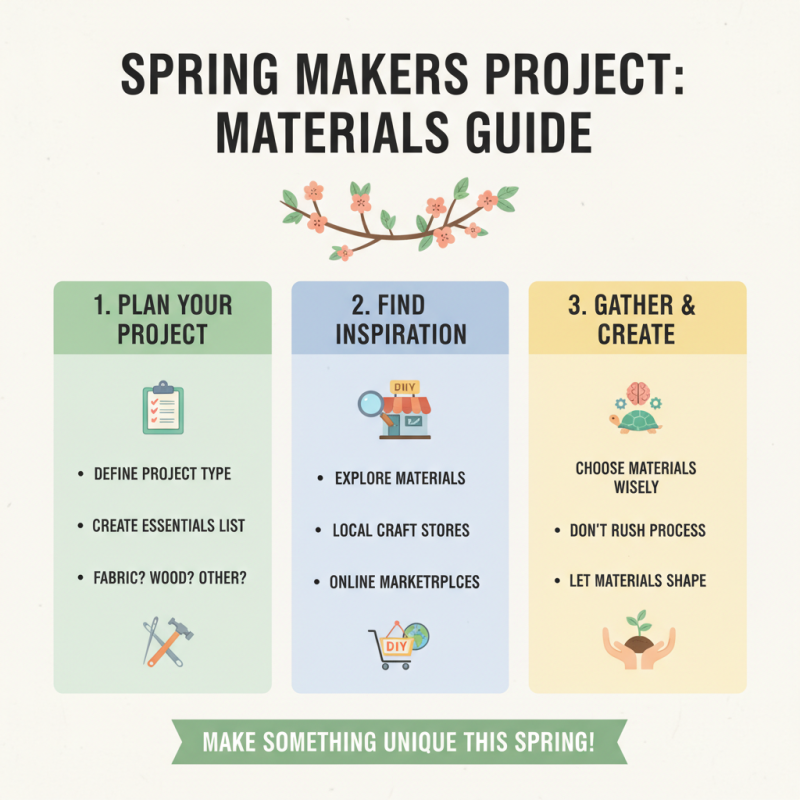
Starting a Spring Makers project requires planning and inspiration. You need to define your project. Consider your skills and resources. Will you use wood, fabric, or technology? Each material holds unique challenges.
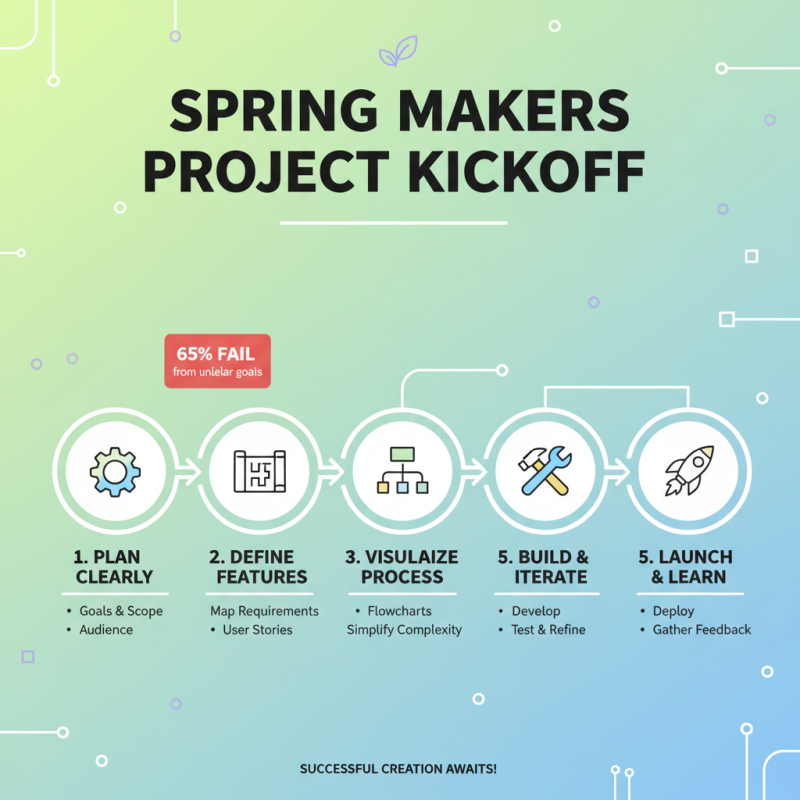
Expect setbacks along the way. Sometimes, a design fails or supplies run out. These moments teach valuable lessons. Reflection guides improvement. Each effort you make with Spring Makers enhances your creativity. Embrace the process.
Understanding the concept of a Spring Makers Project starts with creativity. It is about harnessing the energy of spring to create something new. Many feel inspired to make during this season. Ideas may abound but not all will flourish. The key is to select a project that resonates with you.
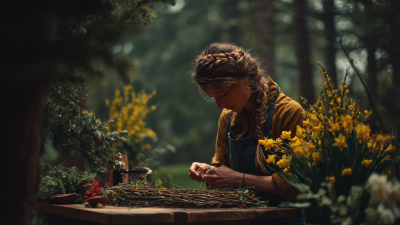
Consider the materials at hand. You may choose items from your home or explore nature. Gather sticks, stones, or recycled goods. Each piece has a story, and your project will too. However, not every attempt will be successful. You might face challenges; that’s part of the process. Reflecting on what works and what doesn't will guide your progress.
Collaboration can be invigorating. Engage with friends or online communities to spark new ideas. Share your creations and receive feedback. Some suggestions may feel off at first. They might challenge your vision. Embrace these moments. They can lead to unexpected outcomes that you never anticipated. Remember, the journey is just as vital as the final product.
When starting a spring makers project, understanding your interests and skills is crucial. Take time to reflect on what you enjoy. Do you like crafting, coding, or working with electronics? Choose something that excites you. Passion fuels your creativity and keeps you motivated.
Write down your skills. Are you good at sewing or woodworking? Maybe you have a knack for digital design. Pinpointing your abilities helps narrow your focus. Don’t shy away from less conventional skills. They might surprise you in this project. Think about areas where you’ve struggled. Learning opportunities often come from our mistakes.
Consider collaborating with others. Find a friend or a local group. Discuss your project ideas. These interactions can spark new inspiration. Feedback from others is valuable. It helps refine your concepts. Remember, experimentation is part of the process. Some ideas may fail. Embrace those moments; they lead to growth.
| Interest/Skill | Description | Potential Project Ideas | Resources Needed |
|---|---|---|---|
| Woodworking | Crafting items from wood using various tools. | Furniture design, wooden toys, home decor. | Wood, saws, sandpaper, varnish. |
| Electronics | Building and designing electronic circuits. | Smart home devices, DIY gadgets, robotics. | Microcontrollers, wires, soldering iron, components. |
| Textiles | Creating items using fabric and sewing techniques. | Bags, clothing, quilts, home textiles. | Fabric, thread, sewing machine, scissors. |
| 3D Printing | Creating three-dimensional objects using a printer. | Prototyping, custom parts, art pieces. | 3D printer, filament, design software. |
| Gardening | Cultivating plants and flowers for aesthetics and food. | Garden design, urban farming, plant propagation. | Seeds, soil, pots, gardening tools. |
When embarking on a spring makers project, gathering materials is key. Start by creating a list of essentials. Think about the type of project you want. Do you need fabric, or maybe wood? The choice of materials can shape your project. In any case, look for items that inspire you. Visit local craft stores or check online marketplaces. Don’t rush this process.
Next, consider the tools you'll need. Basic tools might include scissors, glue, or a hot glue gun. More complex projects may require saws or specific craft knives. It's important to have a designated workspace. This helps keep things organized and reduces frustration. However, your workspace may not be perfect. It's okay if it's a bit cluttered.
As you gather, take a moment to reflect. Are these materials truly what you need? Sometimes, it’s easy to get carried away. Mistakes are part of the creative process. You might buy something that doesn't fit your vision. Embrace these moments for growth. They'll help refine your project and improve your skills. Creating spring projects should be enjoyable, so don’t stress if things go awry.
Starting a spring makers project requires careful planning. Setting a timeline is essential. Break your project into phases. Each phase should have clear milestones. This keeps the project organized and focused. For example, if you're building a garden shed, start with design sketches. Set a deadline for when these sketches should be done.
Consider the materials needed early on. Research local suppliers and their prices. Allocate time to visit these suppliers. Sometimes, unexpected delays happen while waiting for materials. It's best to build in extra time. Don't forget to involve others. Share your plans with friends or family. Their input might reveal potential issues. Regular check-ins can keep motivation high.
Reflect on your progress at each milestone. Did you meet the deadlines? If not, why? Learning from mistakes is part of the process. Maybe you underestimated the time needed for a specific task. Adjust your timeline as needed. Stay flexible, and be prepared to pivot. This approach can lead to a successful project.
This bar chart represents the planned timeline and milestones for a typical Spring Makers Project, focusing on various key activities over a three-month period.
To kick off your Spring Makers project, start with a clear plan. Define the goals and scope. Understand your audience. According to recent data, 65% of projects fail due to unclear objectives. Mapping your features and requirements is crucial. Use user stories to capture essential functionality. Create visual aids like flowcharts to simplify complex processes.
Next, break down the implementation into manageable steps. Begin with setting up your environment. Configure necessary tools and frameworks properly. Many teams overlook this part, leading to integration issues later. Regularly review progress to ensure alignment with your initial plan. Implement iterative cycles for development. Studies show that agile methodologies can improve project outcomes by up to 30%.
Testing is vital throughout the project. Consistently assess for bugs and usability issues. Engage real users for feedback. A survey indicated that 70% of developers find early user feedback beneficial. Reflect on what went well and what didn’t. Every setback is a learning opportunity. Adjust goals if necessary to keep the project on track.
